On a boat, and anyone out here doing what we are doing will agree, every time you think you want to get ONE project done…it seems like you have to touch 2-3 other systems to complete the original task. Inevitability, there won’t be the exact part you need or things are sized differently (everything here in NZ and in most of the world, uses the metric system rather than the imperial system we have on Slow Flight so alterations to the original “replacement” is so much of the project to a point where you just may have to think of a new system or way to complete your project. With that said….Holy Crap…it’s been a month of work and since we are getting ready for a long cruising season…the list is long.
This was us just getting started on our “to do” list. We use sticky notes so we can look at them EVERY day…and it’s also rewarding to take one off : )
It will never ALL get done but we have spent all of our money and the time has come to sail off again (can’t spend money out in the Ocean lol)! This post will be boring and long due to some of the technical language, even for me, but this post hopefully will give a look into what we do when we are not cruising the oceans and what it takes to maintain your boat for passages.
Here is what our boat looked like for the last month….
Dining room table..this is quite mild as this space would accumulate “things” all day long.Our navigation station….tools, books, lists, receipts…Our cockpit…we would have to move everything inside everyday so that items or supplies wouldn’t get wet from either rain or heavy dew in the mornings.Bed? What bed?! Lockers cleaned out to access certain areas would find its way somewhere in the boat….
Rigging – We originally knew we needed to get new standing rigging (the cables that hold up our masts) but to what extend we did not know. There is always a big debate about when you should replace rigging on sailboats and it depends on where the boat stays, the amount of use, and generally the environment it in. The general rule is about 10-15 years but since we do not have any records on when the rigging could have been replaced, we had to assume it was past its time. We got a rigging inspection and found some of our cables shown some stress (the wires felt uneven) so we decided to replace 4 lower shrouds (cables) on our main mast…. then we decided to replace our forestay (the wire that folds up our jib sheet: the front sail). Oh boy howdy…when we took it down, Rob our rigger said “this is going in the book!”. Of course we knew something was not good and sure enough it was barely hanging on by a few treads…LITERALLY!
Yeah…this is the core wire of our forestay..you may notice there are only 2 strands left of the wire….there should be 5!Additionally, they found the bracket that holds our forestay up (the cable that helps hold up the mast) was completely broken!Finally, we found that our rolling furler (a system that let’s us roll up the jib sail into a neat tight wrap) had multiple bearings and the plastic sleeve in desperate need of repair.Rob our rigger and Trevor taking down our forestay and rolling furler down.This is what the forestay core wires should look like….this is the new cable that is inserted into the rolling furler that helps to hold the mast in place.The new bracket to hold the forestay up that was fabricated to replace the broken one.
So basically the condition of our forestay made it clear to us, for safety purposes, it is time to change ALL of our standing rigging (yes every single cable on the boat)!
Trevor did all the work himself…. he took down all the other cables by going up and down both our main and mizzen mast (in the appropriate order so the masts wouldn’t fall down without the support of the missing wires) and he would secure the masts with lines/ropes to aid in the support in case the wind blew hard while the new cables were being made.Example of an old cable we took down…icky!The wires had lots of rust and without taking the entire thing down and apart, there is no real way to insect them ourselves….that is why we replaced them after seeing the condition of our forestay was in.Trevor on his many trips up to Rob’s shop to deliver the old cables (so they could measure and get the correct size turnbuckles and pins) and then he would return with the new cables.Example of the new standing rigging (shinny) complete with brackets, pins, and lubricated with Lanocote, a natural rust and corrosion protection.New insulators….. these had cracks on the black plastic bits…. if the plastic bits would fail, the cable would fail as well.New leather spreader “boots” which helps protect the jib sail when sailing to not rip if/when the sail is brushed alongside the spreaders themselves.
The steering system is connected to the …..Autopilot system…. This was another priority for us for obvious reasons. Long story short, we kept leaking hydraulic fluid in our steering system even though we got the hoses and connectors fixed (twice) in Fiji. The pressure to keep the hydraulic rams (which turns the rudder which turns the boat) would keep decreasing when the fluid would leak out so we decided we needed a new system rather than try to replace our old one. This was a HUGE task! Trevor basically worked with the local chandlery and built and installed a new system that could work with our existing autopilot system (helps us not have to hand steer the boat all the time…VERY important to us as we are only 2 people and our autopilot is basically like a 3rd crew member). Trevor did such a great job…it took hours of research and planning (you can’t just go to the store and by an all-in-one steering system) to made it all happen.
To do this, the work space included underneath our bed, lines ran from the back of the boat all the way through and up to the helm station in the cockpit. We had to bleed the line which took us hours and lots of fluid…probably user error…. air in lines = low pressure = no steerage = no bueno! You can image the disasters throughout the boat : )
Trevor taking out the old steering system underneath our bed areaOn a boat, things don’t always go as planned. Here the top of the bolt came off while taking it apart.Fast forward weeks: New pump that connects to the new steering arm on a custom fabricated plate from local fabricator. Space for the arm to move without obstacles was an issue and how much “power” did we want the pump to be….New NON-COPPER hydraulic lines from yet another vendor Trevor had to organize.Now we had to take out the old autopilot pump at the helm, after running hydraulic lines to the helm station in the cockpit.The new autopilot pump connected and it FIT..thank goodness.Now we needed to fit the wheel on the new pump which has a shaft to hopefully fit the treads on our old wheel.it was a tight squeeze but he made it happen. Notice we have another custom plate, a new knob to tension the wheel, and he had to remove teak from behind our autopilot display so that the wheel would fit.While we were messing around in the helmstation, Trevor re-wired the lights and gauges to make sure they were water tight connections and properly labeled etc.
Fuel and Water tanks polished – We suspected our fuel was pretty dirty after all these miles and we really wanted to start with clean tanks as we are going to places where we hear fuel (and water) are not of great quality. Polishing really means emptying all the fuel and water out of the tanks (harder than you think) and cleaning the tanks as best you can to get rid of slime, dirt, and other contaminants. Also what happens during this process are seals broken on said tanks. Getting the inspection covers off was also not as easy invariably someone previously sealed them pretty well. Unfortunately the 2 days it took us to do all 3 tanks, it was raining which meant the hatches on the boat was mostly closed…I think Trevor and I got high off the fumes…in fact I know we did…a few less brain cells : )
So because I can be a clean freak… I made Trevor make a little “rug” out of diesel absorbent pads…..you can see the pump that we used to suck out all the diesel from each tank and we would put it into the yellow jerry cans.The inspection hatch off…..Ahhh..inside the 2 front diesel tanks…doesn’t look that bad!After pumping all the diesel from both front tanks, we filled one of them through a fuel filter (called the Baja Filter) which would catch any of the debris/contaminates.This is the diesel from our 3rd tank…not so good…all this brown stuff clogs the fuel filters and the engine doesn’t like that…and neither do we.3rd tank cleaned out…stainless steel…looking good!We cleaned out 1 of our water tanks….taking off the inspection hatch was a real bugger as hoses were in the way of the screws.Doesn’t look too bad…we were expecting green slime….However, we did find large calcium “rocks”….
Anchor chain and windlass – From our research, this cruising season will be in very deep anchorages. Our anchor chain, or at least the first 100 feet of it, has been used heavily and showing wear. We had originally thought to re-galvanize the chain or possibly purchase new chain, but cost was prohibitive. So we did the next best thing….just turn the chain around.
Can you tell where the first 100 feet is in this photo?Well since the chain is out of the chain locker…I guess we should clean it out! There was inches of mud, shells, and sand at the bottom of this compartment….not to mention the smell (lol)While we are at it, might as well do the maintenance on the windlass….it was looking and feeling a bit rough..and rustyOff comes the wildcat…it’s the part that the chain is spun around to drop it and bring it up.There is a brake pad between 2 plates that we roughed upAnd changed the oil and the oil lip seal to the motor…it looks like it was time don’t you think?cleaned up and checked the electrical connectionsApplied rust protection primer..the gray stuffthen painted it white…almost like new….though I spilled the paint twice all over…Trevor working his caulking magic… he still has it.
Bilge pump – The bilge is the bottom of our boat but in the inside. It is common for water to there, though we all rather have a “dry” bilge. It most important if we had a major leak in the hull (body of the boat) or a seacock fail (holes in the bottom of the boat underwater that sucks seawater into systems like the engine and generator to keep cool) you want a pump to pump out the water…that’s a bilge pump…..very important and most insurance companies want a large and strong…not to mention “working” bilge pumps. Our front bilge pump stopped working so it was time to fix it.
It’s a dirty job! Oil and water mix in the bilge and it become a gray and icky mess.
Bench – our bench in the cockpit is teak with a varnish on it. It had become cracked and the varnish peeled allowing water to seep underneath the existing varnish and could ultimately rot out the teak. We needed to strip and sand and recoat to protect it.
Stripping with a heat gun the multiple layers of varnish before we could sand it.As always…a board had lifted and we needed to lay it back down before recoating. Trevor placed black caulk/adhesive for a quick fix.The finished product!
Engine room blower and lights – We had originally installed a second blower to keep air circulating in the engine room as it gets hot and if it gets too hot it is not good for the engine and all the equipment in there. One of the fans failed and so we replaced it and reconnected it….additionally we added more LED lights as the other LED string lights were beginning to burn out.
The blower which blows engine room air to vents outside the boat.New bright LED lights so that Trevor can see what the heck he is doing…maybe that will help him drop less tools : )
Boom Track and access hatches – With all of the water intrusion we had on the passage from Fiji to New Zealand 6 months ago, we needed to inspect and assess where the water was coming from. Of course…we found some possible culprits and decided to fix them the best we could.
The access hatches inside the boat that gives us access to the screws that hold the boom track.Inside the access hatch…we can see the screws….darn those things are long!An above view of the boom track before we decided to take it apart and re-bed it with new adhesive/caulk to stop water from coming inside the boat.And it’s up!!! We had to use the boom to help pull up the track as leverage…Trevor’s idea of course…such a smart guy…. The slide you see have holes in the track so you can move the slide to reposition the boom to get a better trim on the main sail….this is where we think the water is coming from. Do you see how long those screws are?It’s off!After cleaning the track and the teak base, we sealed the screws with a super strong and clear adhesive….this stuff was pretty expensive…the hope is that the holes where the slides lock down (middle hole in this photo) will just evaporate rather than seep down where the screws are.Another access hatch we inspected were the chainplates on the mizzen mast.That is salt build up getting through the screw hole…..Outside view…took off the chain plates to rebed themWe found that the wood between the fiberglass that the chainplates were screwed into was gone! Can you see the hole and how it is practically hollow? That should be more solid.Filled all the holes with epoxy, let it set and then drilled them out to put back the chain plates.All put back together with hopes that the epoxy will give more strength to the backing of the chain plates and the caulk/adhesive on the back and around the chainplates will keep the water outside, rather than inside!
Wiring – We have a fan and a light that just went out on us…..it was the neutral wire…
The fastest and easiest project yet thanks to Trevor’s experience in construction…but man does that wire look bad!
Emergency Tiller test – We probably should have done this before we left the US but since we re-did the steering system, we thought we better try out the original emergency tiller which we would use in case our hydraulic steering went out and we had to turn the rudder by hand.
This is what the emergency tiller looks like…there are actually 2 pieces to it…one to set on top of the rudder (under the bed) and one to use as a handle.Trevor opening the access hatch on deck for the tillerThe long piece sits on a post that can turn the rudder….this post is basically connected to the new arm Trevor installed for the new steering system.Deck view with the emergency tiller in place…minus the handle piece…IT FITS!
Engine and generator – We depend heavily on our engine and generator so regular maintenance we always do…however, the engine was running hot and we just couldn’t figure it out. Well Trevor did….it was our exhaust that had so much carbon build up that it wasn’t getting enough water through to cool the engine. Additionally we needed alternators spares so we had a company purchase them and alter them to fit. We performed the usual oil change, fuel filters (primary and secondary), and replaced our water/fuel separator as well.
The exhaust elbow…Trevor is holding the piece of carbon that was plugging it up!So third time’s a charm…we hope. We had the electrical guys re-do our alternators 3 times. We would install the new one to make sure it worked (meaning it was charging our batteries while the engine was running) but it wouldn’t work…meanwhile, the belt size was different so we had to use the old pulley rather than the new shinny one. additionally, we had to extend the arm that holds the alternator to the engine…thankfully we had an extension that came with the boat. They look the same but they are not!The generator impeller…this thing turns at high rotation rates to pull water to the cooling system on the generator (there is one on the engine too) but what can happen is that these little “legs” can break off, reducing performing and not cooling as efficiently…also these broken legs can get stuck in the heat exchanger and cause a plug which is not what you want!
Sails and mizzen boon track – Who said sewing was not fun?!
There is webbing that attaches the sail to the tracks so we can hoist them up the mast. When they start to look like this, there has been significant wear on the webbing, it’s time to sew on new ones. If the webbing does chafe through, the sail then has different pressure points and the pressure is distributed along the mast unevenly and can ultimately snap off all the metal cars…leaving us with a possible ripped sail or the ability to not fly the sail due to damaged cars.Sewing with tools…The finished productWe discovered our mizzen boom track had popped off the rivets and the track was lifting.Short term fix for now….screw it down but eventually it will need to be replaced
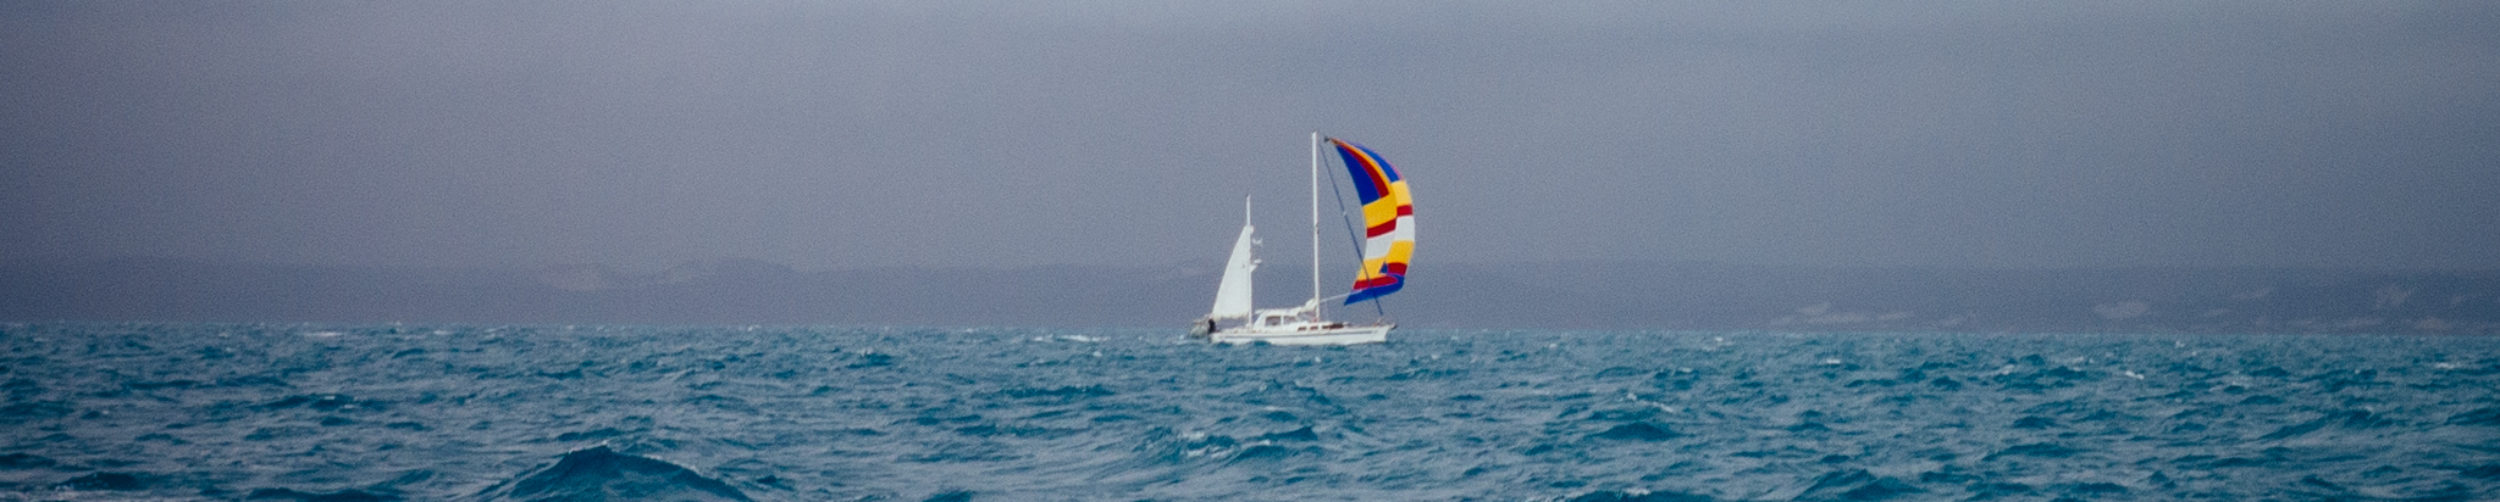
We took Slow Flight out for 3 test runs to make sure the steering and autopilot was working and calibrated, and also to get the bottom of the hull cleaned. We had a local guy come out with dive gear to make sure the bottom of the boat was free of debris (even a little bit of slime can reduce speed) and our propeller was clear of any barnacles that could damage it. Plus we checked and replaced out zincs that help with electrolysis.
Shaft and propeller zincs replaced
Along with all this work, we still accomplished to get all of the necessary vaccinations for visiting southeast asia, provisioning for months, and still had fun with our cruising buddies….that’s next!


That’s an incredible amount of work you guys did! I’m exhausted just by reading all of this. Impressive!